
3.7.3.2 - Registering automatically
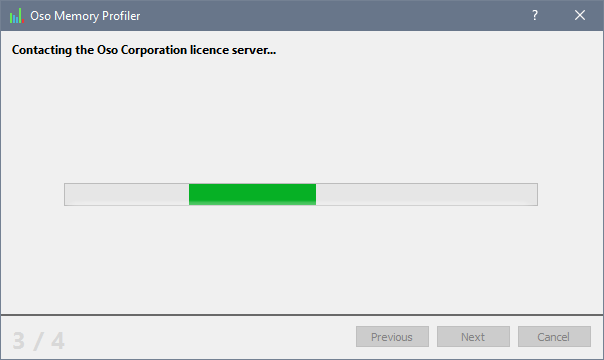
Automatic registration involves entering your registration details, and then allowing the Oso Memory Profiler to contact the Oso Corporation licence server on TCP port 80 to automatically register your copy of the Oso Memory Profiler. If, for whatever reason, the Oso Memory Profiler cannot connect to the licence server, you will have to register the Oso Memory Profiler manually with a web browser.Each stage of automatically registering the Oso Memory Profiler is detailed on the rest of this page:
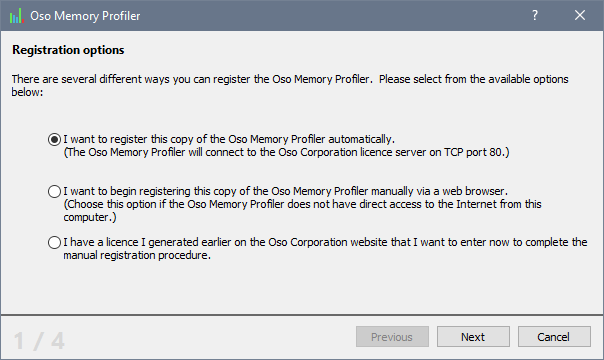
Choose the first option in the licensing dialog, as shown above, and click Next to begin the registration process.
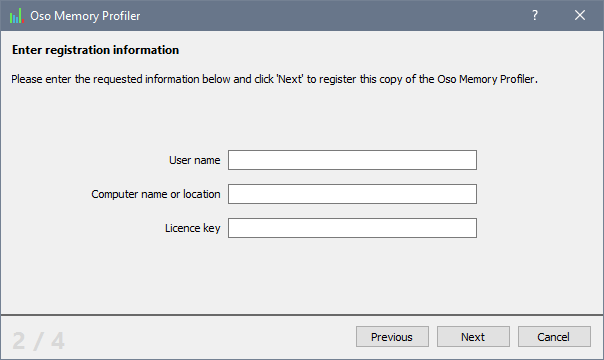
Enter your licence information in the boxes provided. You should note that your name and your computer name will be filled in automatically by the Oso Memory Profiler. However you are free to change them if you desire.
Click Next to continue the registration process.
If the regstration process was completed successfully, you should see your licence details:
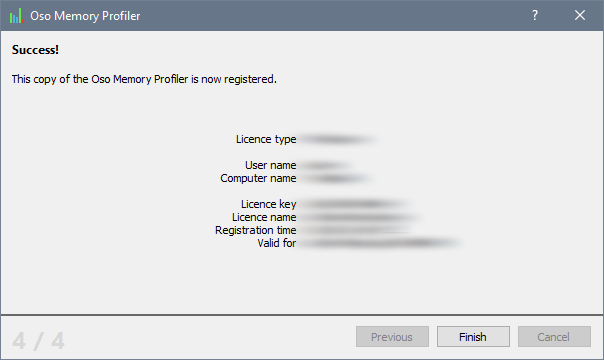
You can now use your copy of the Oso Memory Profiler without restriction.